

Yummy!
Sugar Cookie Playbook

Hello Friends,
One of the best ways to spread kindness is baking sweet treats for those you love.
Thank you for joining me for some fun with sugar cookies!
Below I have placed all my tips and tricks to make everything easy for you.
More holiday recipes will be added to our website later.
Images of the actual finished cookies are at the bottom of the page.

🎓 Graduation Fun
With graduation parties right around the corner, a fun idea is to make sugar cookies inspired by the school’s mascot. In the cookies featured here, the mascot was the Great Dane for Denmark High School in Cumming, Georgia, and the paw prints were the perfect addition to the celebration!
Let’s Talk Dough
My Favorite Sugar Cookie Recipe ✨
Two Sisters: Over the years, I’ve tried so many sugar cookie recipes—but the one I keep coming back to is from Two Sisters. It bakes up perfectly every time! https://www.twosisterscrafting.com/best-sugar-cookie-recipe/
These cookies are soft, buttery, and just the right amount of sweet—especially since they’re often paired with royal icing (which, let’s be honest, brings plenty of sugar to the party).
Here are my go-to tips for making them just right:
🧈 Butter
Salted butter only, please! It’s what gives these cookies their irresistible flavor.
⚠️ Just a heads-up: individual sticks aren’t always labeled—check the carton before tossing the wrapper!
🥚 Eggs
Use the largest eggs you can find! They add essential moisture to the dough.
🍦 Vanilla
I use Madagascar vanilla and bump up the amount—at least 3 to 4 times what the recipe calls for! Vanilla is one of the only liquid ingredients in this dough, so it also helps achieve that soft, rollable texture. Powdered vanilla won’t work with this recipe.
🌾 Flour
I always use King Arthur Flour and sift it together with the baking powder for extra lightness.
💡 Tip: I keep about 1/3 cup of the flour mixture set aside for rolling out the dough later.
🧪 Baking Powder
Check the expiration date! Expired baking powder can flatten your cookie dreams fast.
🧁 Mixing Tips
Half a batch fits perfectly in my stand mixer using the paddle attachment. The dough comes together quickly—don’t overmix! Stop as soon as it forms a dough.
🍪 Yield
A half batch makes about 15–25 cookies, depending on the size of your cookie cutters.
🧊 Storage
I usually bake my cookies right after mixing, but you can chill the dough overnight if needed. It holds up great!
Whether you're baking for a party, gifting, or just craving something sweet, these cookies are a total win. Give them a try—and don’t forget the royal icing!

Rolling & Cutting
This part can seriously make or break your cookie game—but don’t worry, I’ve got you! A few simple tricks will make the whole process smoother, faster, and way more fun. The right tools make this part way easier (and more fun)!
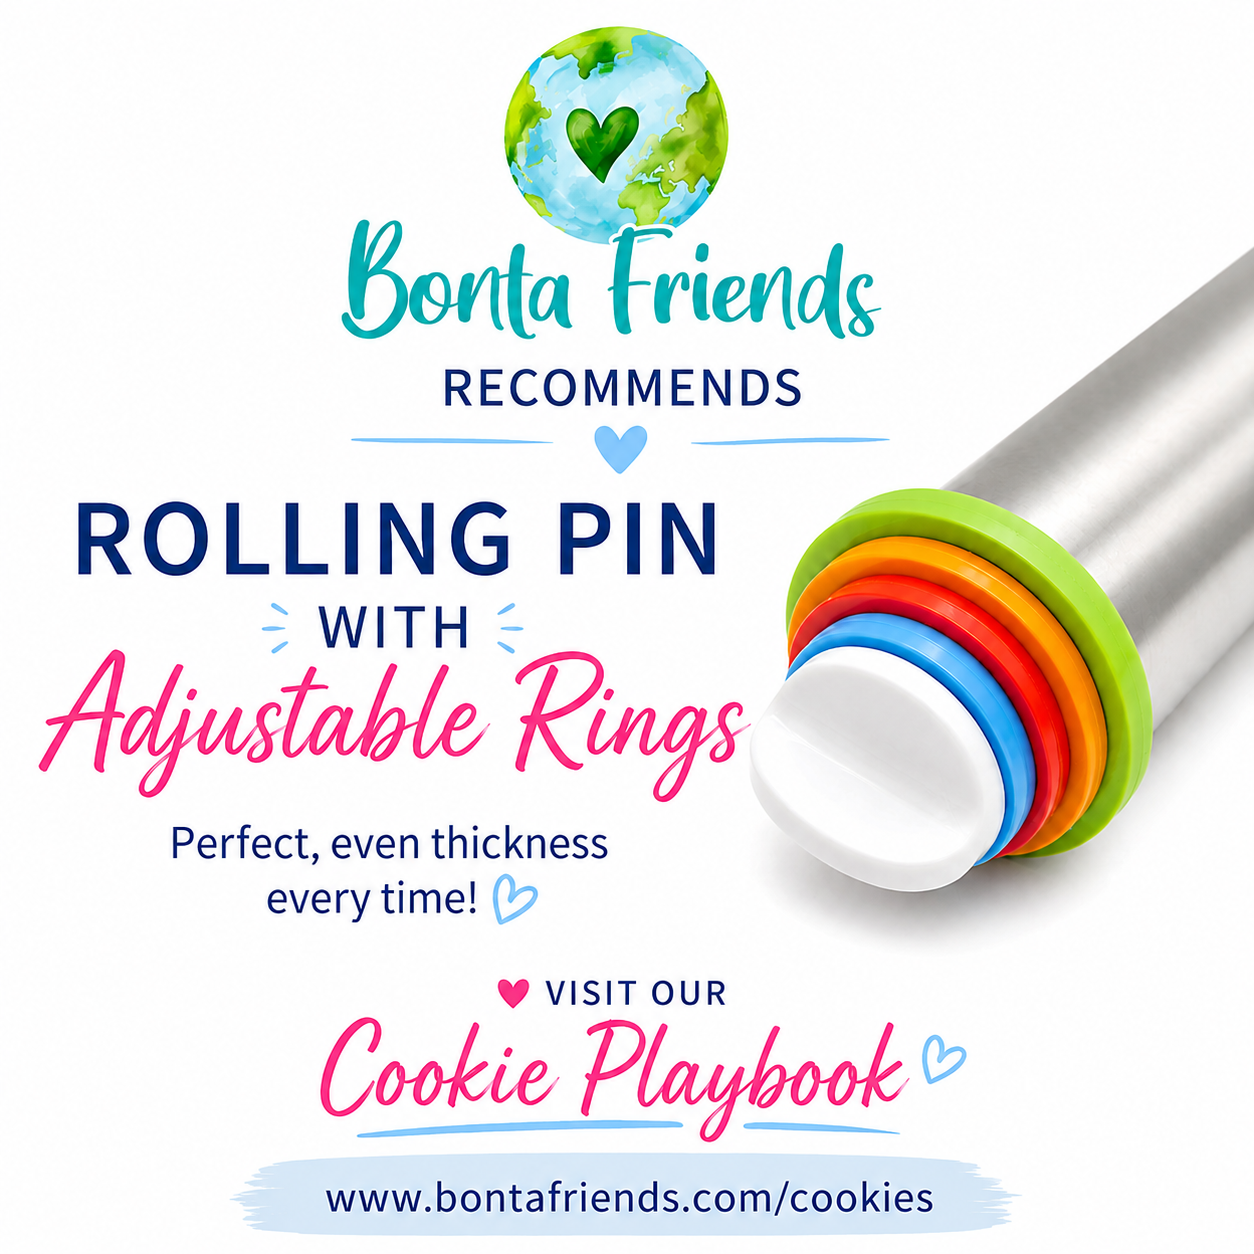
🧑🍳 Rolling Pin + Mat
A standard wooden rolling pin just won’t do for this project! I use an adjustable rolling pin with removable rings for perfectly even cookies. I take off only the orange and keep the green ring on—it’s the just-right thickness. Pair it with a silicone mat for a smooth, non-stick surface. Perfectly even cookie not only look great but bake evenly as well!
👉 Find it on Amazon: Rolling Pin with Thickness Rings, Fulimax 17" Adjustable Stainless Steel Rolling Pins
Find it on Amazon: Rolling Pin with Thickness Rings, Fulimax 17" Adjustable Stainless Steel Rolling Pins
🎯 Delicate Shapes Tip
No Transfers, No Tears!
Making intricate shapes like snowflakes or that fancy jumping deer? Roll the dough right on the baking sheet (lined with a silicone mat) and peel away the excess dough. That way, you won’t mess up the design when transferring them. No heartbreaks here!
🔪 Cookie Sheets & Cutters
Cookie sheets should be able to fit easily into your fridge for cooling. Metal cutters are preffered to plastic for super crisp edges. ✨ Bonus tip: Save the packaging if it shows the cookie shape—some of them are sneaky and you may not remember what it is supposed to be in the future!
🧩 Chilling & Shape Strategy
Although you can get away with no chilling, I find chilling make a huge difference. I chill for 15 minutes before baking. This step is more important for intricate cookie cutter designs such as a jumping deer. A heart shape for example will likely cook just fine, even if it spreads a bit. Group similar shapes on one tray (all stars, all snowflakes, etc.). That way, they bake evenly and finish at the same time. No burnt mittens here. 😉
Baking Tips
All ovens are different, so be sure to see what works best for you!
The recipe called for 350 degrees and a shorter cooking time. I usually bake my cookies for about 12-14 minutes depending on the size of the cookie. Oven temperatures vary, so keep an eye on the cookies to decide for yourself. The cookies are not too sensitive to the baking process, a little less time and they will simply be light and have less flavor, a bit more time and it is simply a crispier cookie.
🔥 Bake Time!
Set your oven to 350°F and bake for 12–14 minutes, depending on your oven and cookie size. ⏱️
👀 Watch for the edges!
Look for just a hint of golden brown around the edges—that’s your sweet spot.
🌟 Texture Tip
A little underbaked = soft and chewy 🍥
A little overbaked = crisp and snappy 🍪
Good news? These cookies are super forgiving!
🧽 Rough edges?
No biggie! Grab a zester or microplane and gently smooth them out for that picture-perfect finish. ✨

Frosting Tips
Now for the fun part!
There are many opinions on how to handle frosting cookies; however, this is the easiest way we have found!
🍭 Royal Icing, Made Easy!
I use ready made powder such as Hobby Lobby’s Royal Icing Powder or Amazon has many kinds as well. Chef Master is available on Amazon and is the same brand as the colors I use.
I only use ready made powder frosting. I do not enjoy working with prepared frosting as I find altering the consistency more difficult to manage.
I do not like to add any corn syrup as suggested in some recipes as I find it too sticky!
🌀 Mixing Tips
Start on low speed for 2 minutes, then slowly turn it up. Let it get nice and fluffy!
💧 Too thick?
Add water 1 teaspoon at a time until it softens up.
🧁 Too thin?
Just keep mixing—it thickens as it whips!
🎯 Consistency Matters
For flooding, aim for a “10-second icing”—drag a line through it and it should smooth out in about 10 seconds.
For detailed piping (like sweater stitching 🧶), you’ll want a very stiff icing.
🎨 My Style
Cool Tips: I lay clear plastic wrap on the counter. I place each color on the wrap and roll it over, squeezing it at the ends. This creates a “tube of frosting.” Then I cut off one end and drop it in the bag when I am ready to start piping. It is cleaner and faster. I also skip the outline! Instead, I start in the center and gently nudge the icing to the edges.
Doing more than one color has two options:
🌈 Add a second color right away for a “wet on wet” effect - the colors will not mix but rather they will melt into one another.
⏳ Or let it dry first for a layered look (just a heads up—more frosting = a sweeter cookie!
Note that a layered effect does tend to make the cookie very sweet as the ratio of frosting to cookie changes with every layer! One of the joys of the Two Sisters Recipe is the balance of salt to sugar. They are delicious even without the frosting. A very thick application of royal icing can make the cookie unpleasant to eat.
Color & Design Tips
Time to bring your cookies to life with a little color! 🎨
When tinting your royal icing, always use gel food coloring (Chef Master)—never liquid. Gels are super concentrated, so a little goes a long way. Start with just one drop (or even a toothpick tip!) and build up slowly.
Edit your designs to be as simple as possible for the best effect.
Remember that if you make a mistake, you can simply scrape off the frosting and start again!
🌈 Color Like a Pro!
🖌️ Use gel colors - a tiny bit goes a long way! They're vibrant and won't water down your icing. We like Chef Master colors which are available on Amazon. We buy all the colors so color mixing is minimized!
🚫 Go easy on bold colors like deep red or black. Too much can leave a bitter taste—less is more!
Sometimes it helps to let darker colors develop over time—mix them, then let the icing sit for a bit to deepen.
✨ Keep it simple!
Clean, minimal designs almost always turn out the best. Classic = classy. 💅
😅 Made a mistake?
Made a design you’re not loving? No big deal. Just gently scrape off the frosting and try again. That’s the beauty of royal icing—it’s super forgiving while it’s still wet.
You got this! 💪
Sprinkles & Embellishments
This is where the magic happens—those extra touches that take your cookies from cute to wow! ✨
I love using sprinkles and sugar embellishments (premade royal icing designs), but I usually stick to one kind per cookie. It keeps the look clean, elegant, and polished. Even when I buy mixed sprinkle blends, I’ll often pick out just the pink pearls or only the gold stars—trust me, less is more! I do not use traditional sprinkles (long and flat) very often but for kids they work great. I love embellishments to add a professional touch to the cookie. they cost a bitt of money but add elegance and save a ton of time.
🌟 Sprinkle Strategy!
🍬 One type per cookie keeps things looking classy and elegant. I love a clean, curated vibe.
🎯 Got a mix? I separate them out—think just the pink pearls 💗 or only the gold stars ✨ for a refined look.
🎉 Kids' cookies? Go wild with traditional rainbow sprinkles! Fun, colorful, and full of joy. 🌈
📦 Where I shop:
I love ordering extras from WholesaleSugarFlowers.com for embellishments. Don’t let the name fool you—you can order as an individual! Sometimes you’ll need to buy in bulk, but they also offer smaller packs—and they’re so worth it if you want your cookies to look professional with minimal effort. Seasonal embellishments in small quantities are also usually at Target, Kroger, and Michaels.
💅 Pro Touches:
Pearl Shimmer: Spray glitter or luster dust adds a lovely finish; however, I usually use a pearl finish only as the colored glitter may make the cookie look dirty or messy. Here’s my go-to spray:
Amazon Search - Shimmer White Edible Glitter Spray, 5g Edible Glitter for Cocktails, Cobakey Luster Dust Edible for Cake Decorating, Drinks, Baking
Colored glitter spray: 👎 usually ends up looking messy
⚠️ Bite check!
Make note of texture as some embellishments do not taste very good in large quantities. Some embellishments do not feel pleasant on the palate such as sprinkles that look like large pearls. Take a taste before you sprinkle. Be careful with the hard ones, at a minimum use them sparingly!
Presentation & Storage
You've baked, decorated, and dazzled—now it's time to show off those beauties and keep them fresh! ✨
📦 Storing & Freezing Tips
❄️ Leftover royal icing that you did not use can last for a while. Many people say 2 days on the counter, two weeks in the fridge and two months in the freezer but the container (bag or box) must be air tight, meaning cover the tips of the bags as well! Icing may separate so you may need to remix. The finished cookies seem to freeze well—plain or decorated in a totally airtight container Honestly, I usually don’t freeze mine. Fresh is best but I did do a trial. I was amazed! Two weeks later, they tasted fresh when they came out of the freezer. Once they were out of the freezer, I kept them in an air tight container on the counter. 🍪
🏡 Room temp? They stay fresh for about a week, sometimes even longer.
🧊 Need more time? Into the freezer they go!
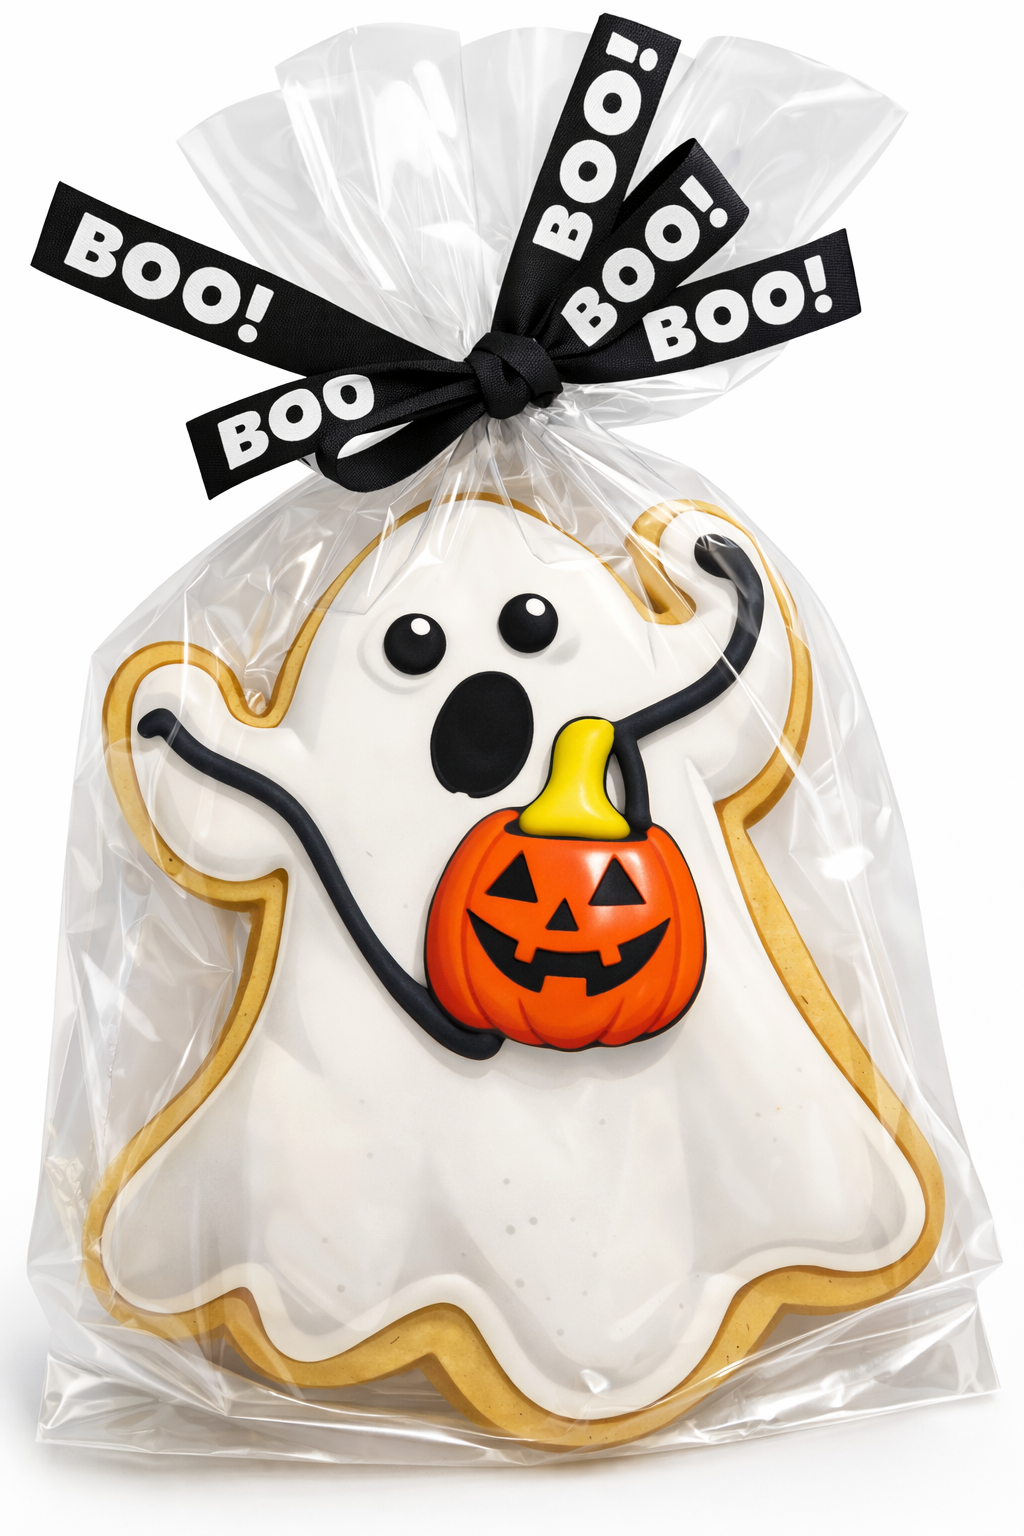
Gifting
🎀 Once they’re fully dry (give it 12–24 hours), I pop each one into a bag and tie it up with a cute ribbon. Instant gift! I use a clear party bag: 4 inches by 9.5 inches is perfect. I used to buy Stir Everyday brand bags from JoAnne’s fabrics but since they closed, another brand will do. Just be sure it is food safe! Below is a link to one of my sources if you need it.
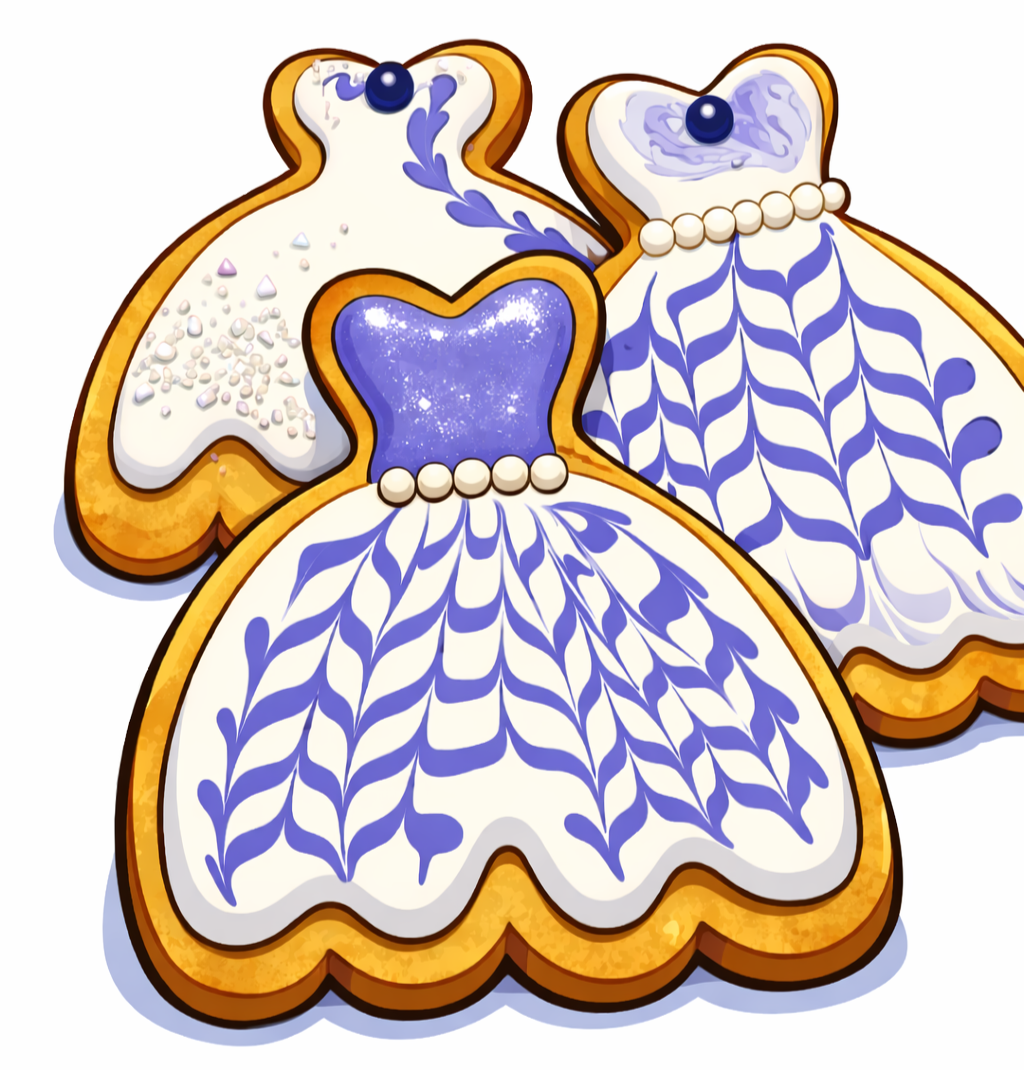
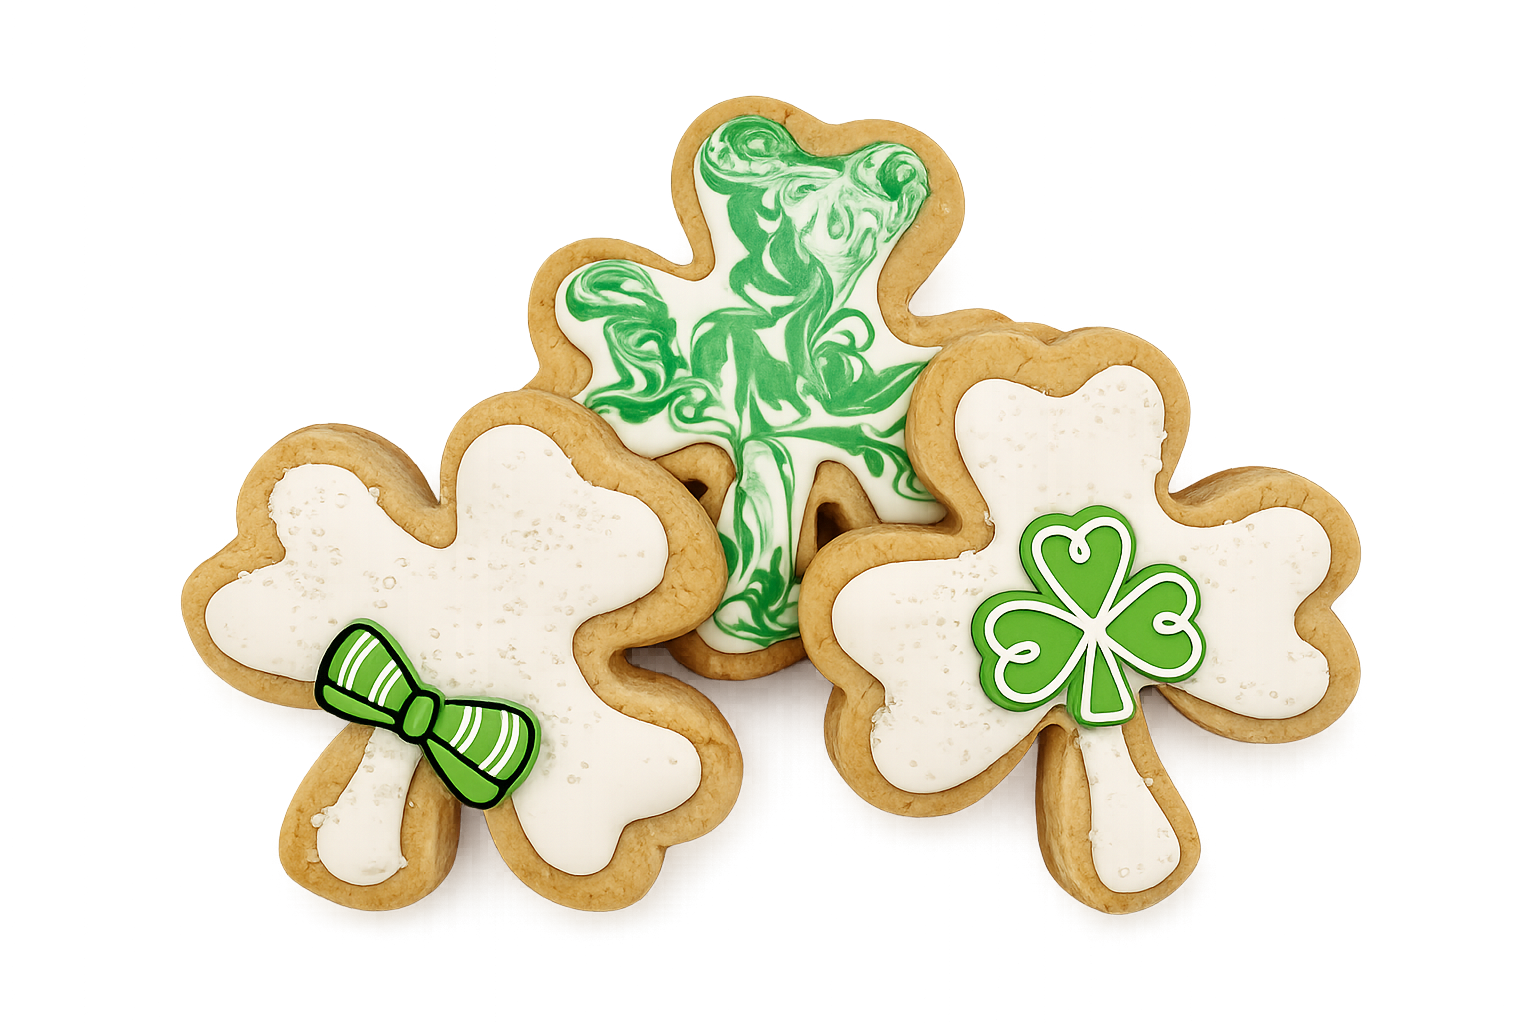
Samples & Inspiration
Here are a few of my cookies which seem to always brings a smile!
These cookies were made for some friends in the spring. More samples celebrating other holidays will be posted soon! These are the real cookies, the only thing I did to edit these images was remove the plate they were on. It took a little while but with some practice, a truly professional look is possible. Some techniques are much harder than others!
Perfect for Springtime


Decorating Videos
🎥 Although all of the techniques we personally use are listed right here on this page, our company has never created videos on how to actually decorate cookies with royal icing.
We know many of you love watching step-by-step tutorials to see different designs come to life and luckily many talented bakers have already done the work for us! We went ahead and searched the web to gather what we think are some of the best cookie decorating videos available.
They’re organized below by skill level, so you can easily find inspiration—whether you’re a beginner just getting started or ready to try something more advanced. 🎨✨
Valentine’s Day Decorating Video Links
Simple Techniques
Intermediate Techniques
Advanced Techniques
Spring Holiday Decorating Video Links
Simple Techniques
Wet on Wet Techniques
Advanced Techniques
St. Patrick’s Day Decorating Video Links
For my Advanced Learners…
Little Penelope’s Vidoes
🎉 That’s it—my complete cookie playbook!
Happy Baking!


The Best of Our World
“A cookie is never too pretty to eat.”